Quickstart Guide: How to test Teachable Webhooks in your local environment in minutes
Introduction
The following tutorial will show you how to test and consume Teachable webhooks in your local environment, using a tool called, ngrok. This tool is a simple and fast way for developers to expose a local endpoint to the internet. The benefit to this is that you will be able to consume webhooks, without having to deploy any code to production.
What you need
We will need a few programs in this tutorial, including:
- A Teachable account on the Growth plan or higher to create webhooks
- An ngrok account (the free plan will work!)
- A local environment / app running with a POST route (we will be using rails as an example)
Tutorial
The first step is to create an account and download ngrok. You can download this tool by going to the downloads page and following the instructions. There will also be instructions once you create an account.
If you are on a Mac, you can use Homebrew to install ngrok with the following command in your terminal:
$ brew install ngrok/ngrok/ngrokAfter you’ve installed ngrok and created an account, you will need to add your authtoken. Run the following command to connect your account and add your authtoken to the default ngrok.yml configuration file. This will allow you to access more features and longer session times. The authtoken can be found once you create your account.
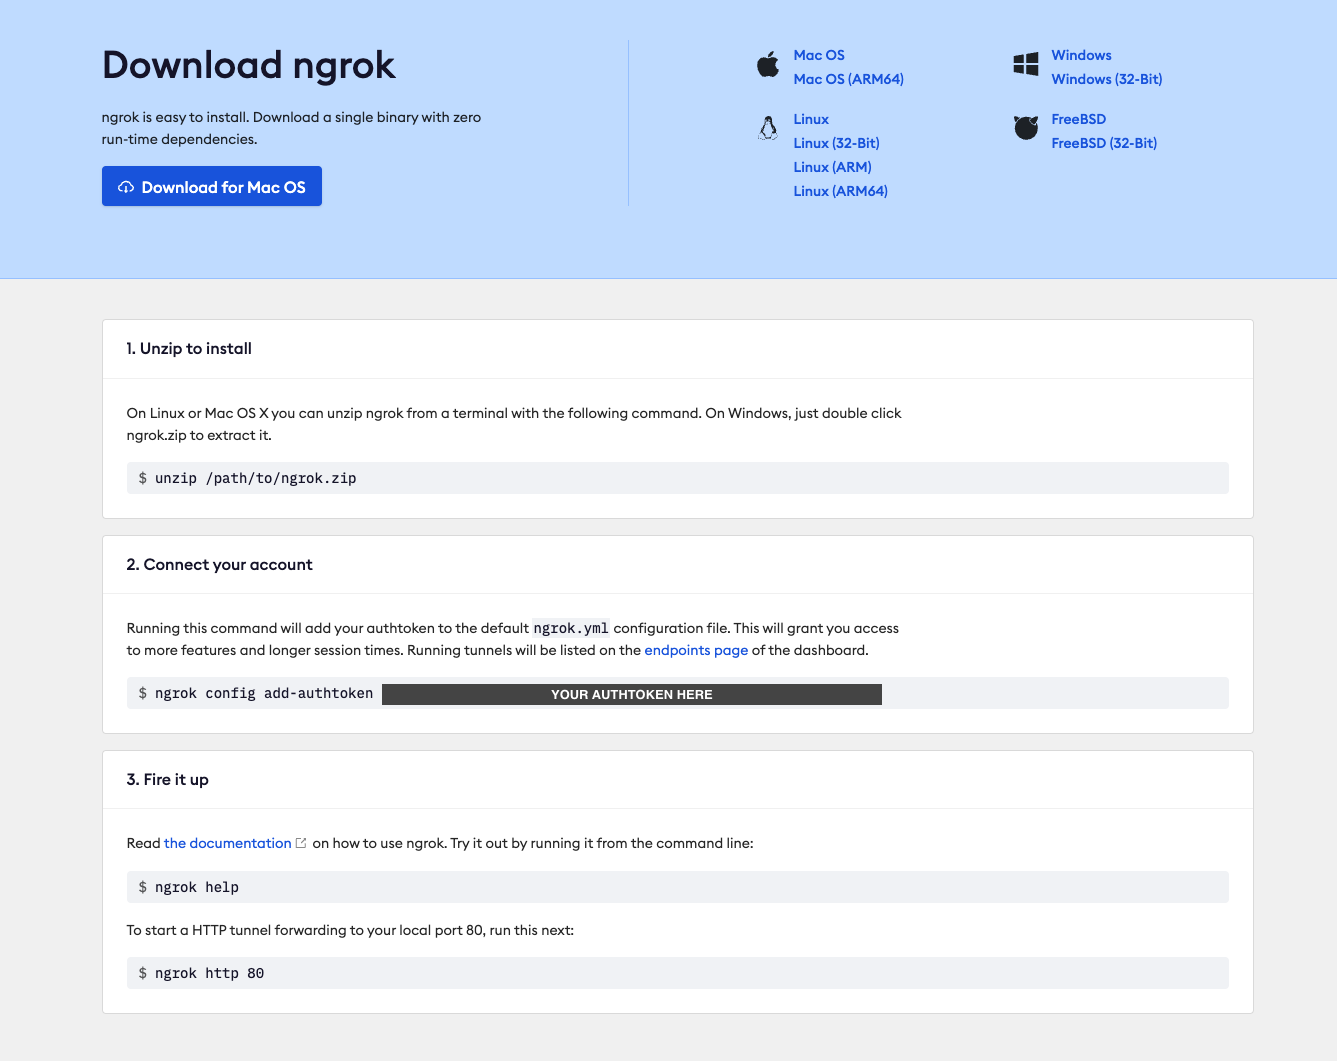
$ ngrok config add-authtoken <authtoken>Now you are ready to expose your local endpoint URL. If you have a local web application running on for example, port 3000, you should run the following command:
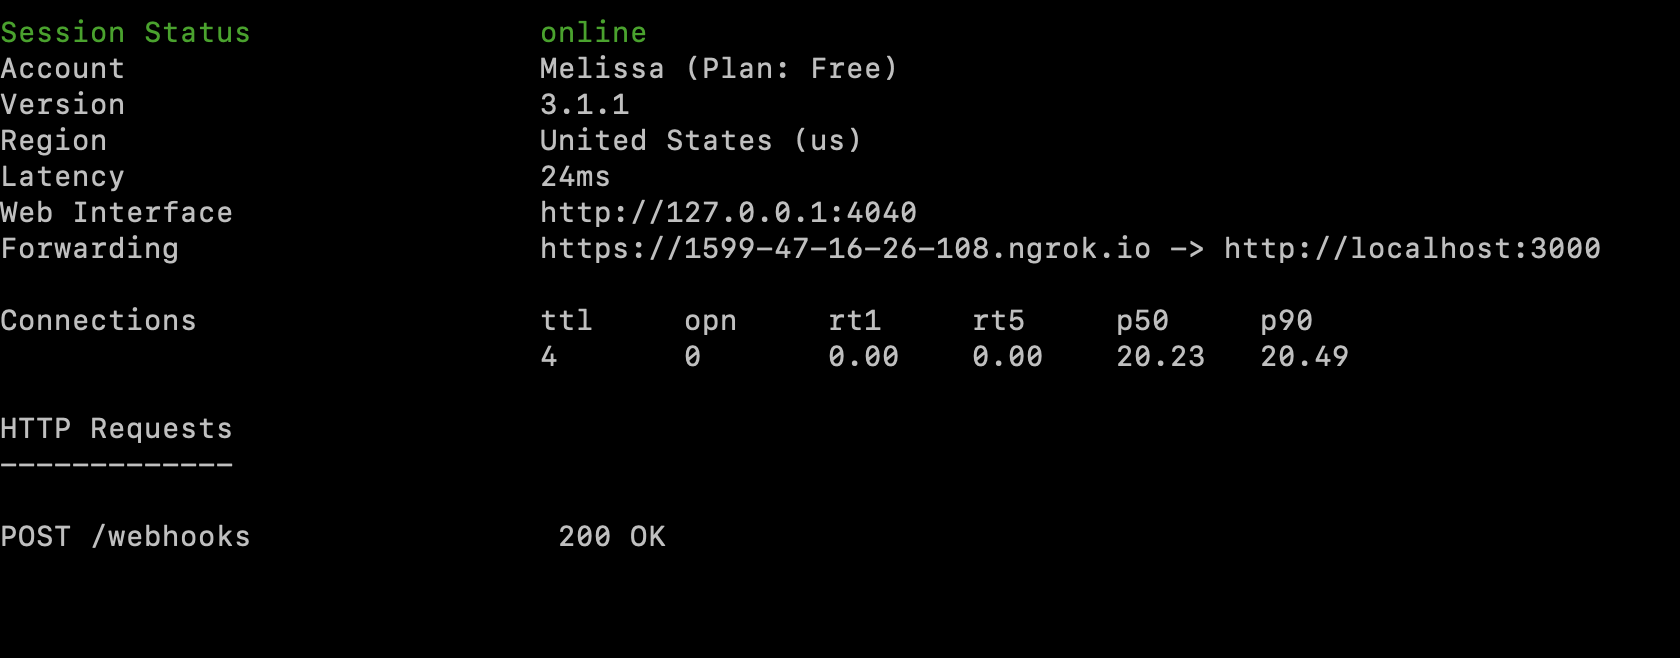
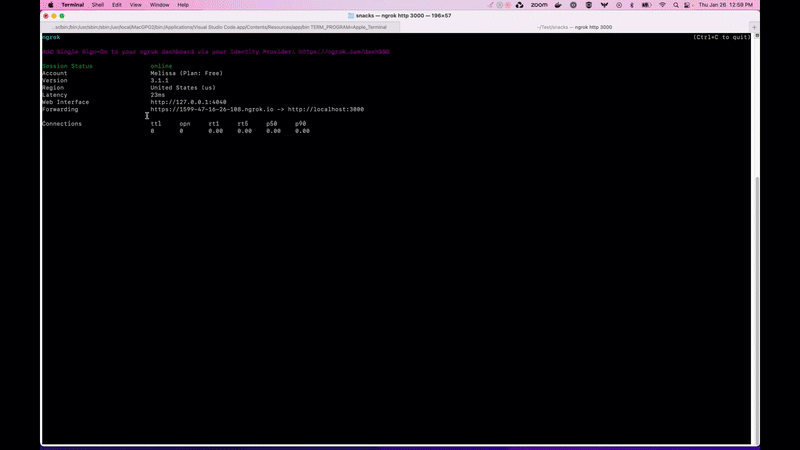
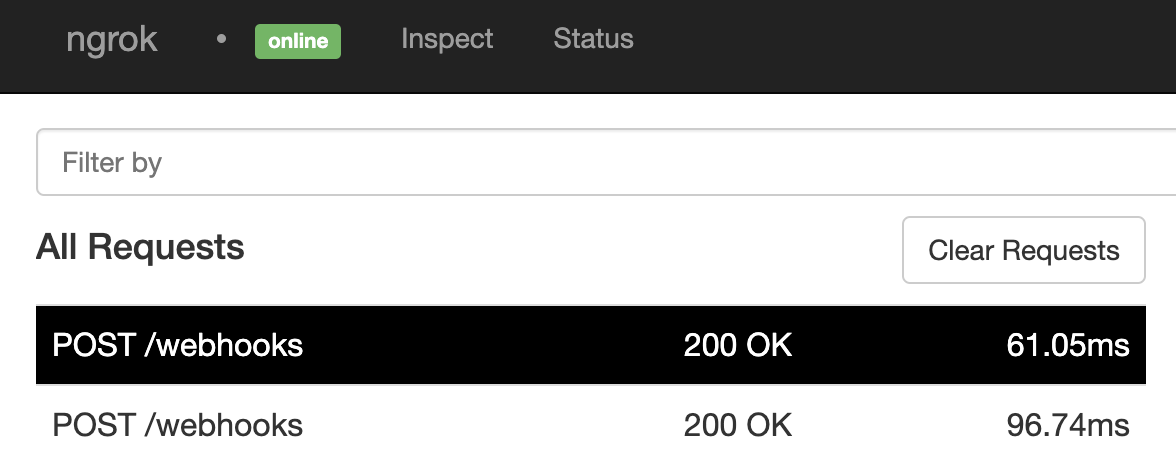
$ ngrok http 3000 # the port should be the same as where your local application is running Once ngrok is running in your terminal, you will see the Web Interface, which is the URL you can go to to see all of the web traffic coming in, as well as the responses to your application server. You should also be able to see this by going to http://localhost:4040 in your browser.
You will also see an ngrok URL for Forwarding, which is the public URL you will use for your Teachable webhooks, once you’ve created your route.
Create a route in your rails application
In order for your application to consume the webhook events successfully, you will need to create a route for the webhooks to send a POST request to. In this example, we will be using a rails application. For more information on how to set up a rails application, you can reference the documentation here. Please note that you will need a rails application running locally before you can proceed to the next step.
To create your new route, you will want to copy the code below and add it to this file.
# config/routes.rb

post "/webhooks", to: "webhooks#create"
Next, you will need to add your create method in the WebhooksController.
# app/controllers/webhooks_controller.rb

class WebhooksController <  ApplicationController
	skip_before_action :verify_authenticity_token # add this line if you run into a 422 error

def create
		render json: response.body, status: 200
end
end
You will also have to add the public URL from your ngrok terminal to the development.rb file to avoid any 403 forbidden errors.
# config/environments/development.rb

config.hosts << “abc123.ngrok.io” # replace “abc123” with your ngrok hostname in your terminal
Add a Teachable webhook
Now that you have your local application running and an endpoint created where the webhooks could send requests to, you can add and test a Teachable webhook.
You can follow the steps here to add a webhook in your Teachable account. When adding a webhook, the Webhook URL should be the ngrok hostname, followed by the route you created (Ex: https://abc123.ngrok.io/webhooks).
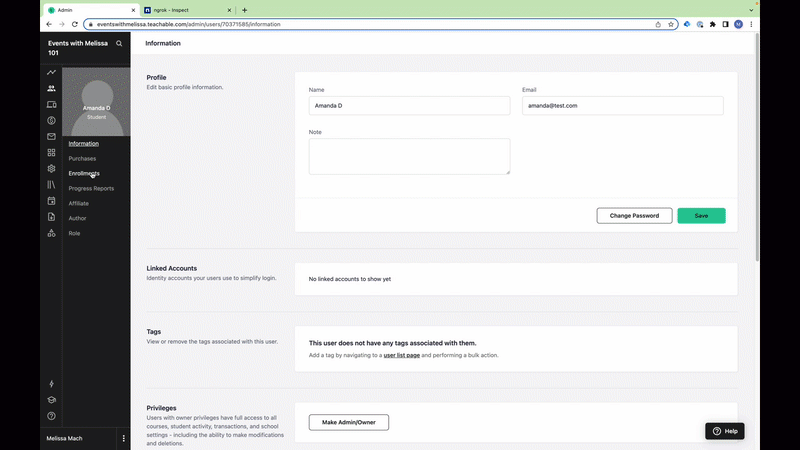
After the webhook has been added, you can test the webhook by manually triggering the event in your school. An example you can try is adding the New Enrollment webhook. You can then manually enroll a student to a course within your school to trigger the event.
Then, go back to the Web Interface URL in your browser. You should be able to see all of the requests coming through, including the New Enrollment webhook event you just triggered with the corresponding data. If set up successfully, you should receive a 200 response.
Updated 11 months ago